Japanese knives are incredibly useful but they must be looked after and cared for properly in order for them to be at their very best. Indeed, if they are cared for correctly, Japanese knives can be used for a very long time.
Of course though, if you have never owned a Japanese knife before or you are unaware of how to care for them, you probably will also be unaware of how you should sharpen a Japanese knife.
Luckily though, we’ve written this handy guide which explains everything you need to know. So, if you’re ready to learn more – then read on!
Sharpening A Single Edged Japanese Knife
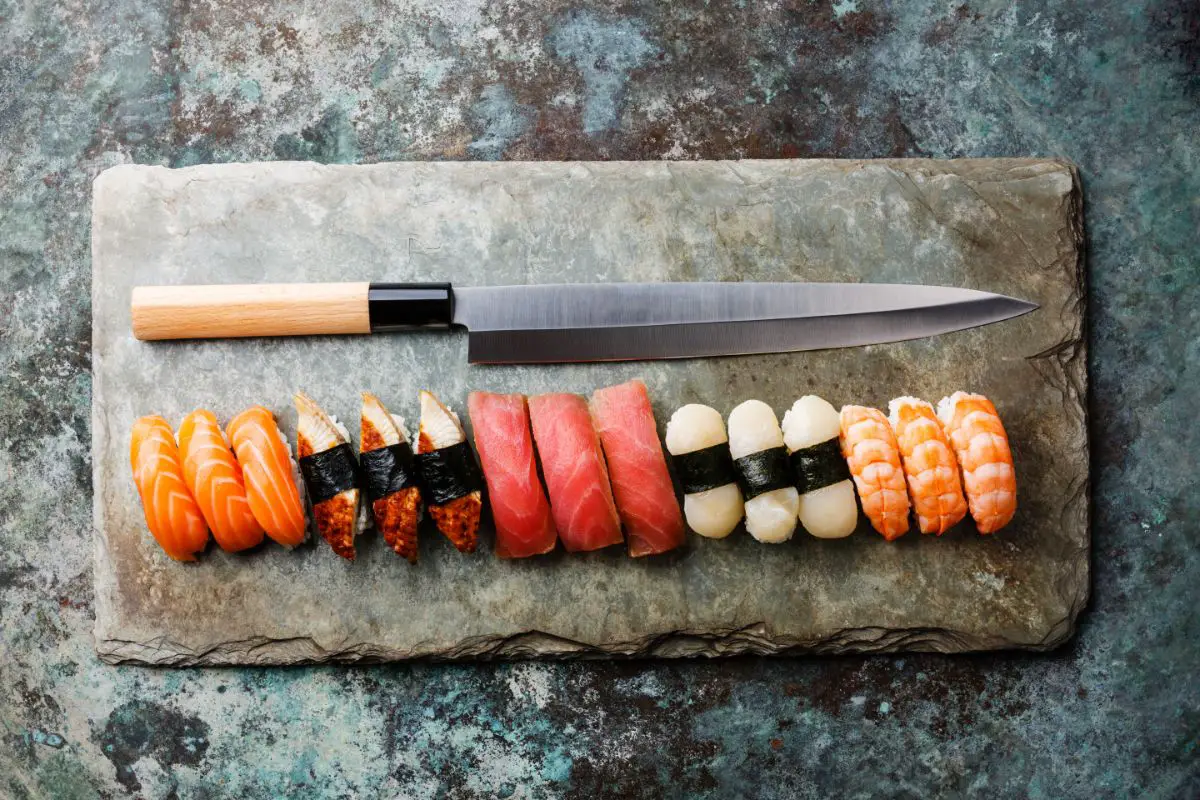
Japanese knives are traditionally single edged which differs from Western knives which you may be more familiar with – they are generally double edged.
As a result, the tools you will need to sharpen a Japanese knife will be different from something you might be used to before. Let’s examine what you will need.
What You Need To Sharpen Your Japanese Knife
You’re going to need:
Your Japanese knife
Whetstones (rough, medium and finishing)
Whetstone containers
A cloth
Preparations Before You Start
Before you begin sharpening your Japanese knife, you’re going to need to fill a bucket with water – this will be used to submerge your whetstone, which you will do for around ten minutes.
You will know when this process has completed when you see no more bubbles emerging from the whetstone. It’s also a good idea now to dip the cloth into the water and then wring it out, allowing it to remain damp.
Spread this dampened cloth on a flat surface. This will be useful to stop the whetstone from sliding away when you are in the process of sharpening your Japanese knife.
[1] Sharpening
You will likely be using your Japanese knife on a daily basis after you have acquired one – as we said, they can be among the best knives in existence!
So, when you notice that your knife is no longer working as well as it used to, you need to make sure you’re going to sharpen it as soon as possible before it gets worse. You need to use a medium whetstone and then a finishing whetstone.
Depending on the level of damage your Japanese knife has taken before sharpening, you may need to form a rough shape with the whetstone to clear the nicks and imperfections beforehand.
Begin with sharpening the reverse side and then move onto the face side using the whetstone, repeating the process of reverse to face over and over again. However, the face side needs to be attended to more than the reverse.
It’s a good idea to consider a 7:3 ratio in the favor of the face side. This is to prevent any chance of the reverse side overhanging and becoming brittle.
[2] Sludge
If you notice sharpening sludge during the process, you need to flip the blade over to its face again. You then need to hold the blade to the whetstone blade first going from tip to heel.
You hold the handle with your gripping hand while the other hand is sharpening the blade. Gripping should be firm, but the other hand should be slightly loose allowing the blade to move on its own, just with a little encouragement.
Indeed, the fingers that you hold on top of the blade will provide the most amount of pressure with that hand.
[3] Checking
After you have performed several strokes of sharpening the blade, you need to do a basic check. Roll the ball of your finger down the side of the blade – not the sharp end!
If you feel what is known as a catch, then this indicates that the process to form an edge was successful. Remember, sharpening a Japanese knife will take time and care, so you need to have a lot of patience here.
Take as much time as possible to ensure you get this right. If you have never performed a sharpening process like this before, try not to rush it. It’s okay for this to take a very long time.
[4] Remove The Burr
To remove the burr, you will need to give the reverse side of the knife a little more attention. Do this by sharpening the reverse side several times and then check the blade again, as per the previous point.
[5] Wash Away The Sludge
After you have removed the burr, you will now need to wash away any sludge that is present. Once this has been done, you can then smooth the blade out by using the finishing whetstone.
[6] Kobadome
Kobadome is the process of sharpening the beveled end of the blade a few times which gives it extra strength and the finishing touches that it needs.
[7] Wash
It’s now a good idea to wash the blade carefully by using hot water. After this, gently wipe away the moisture off the blade using a dry cloth. If possible, add an oil coating finish and then wrap the blade using plastic – being careful not to trap moisture.
[8] Straighten The Whetstone
By using the one side of the whetstone, it’s possible that the whetstone becomes uneven for future use, which can be problematic. To resolve this problem, simply rub the reverse side of the whetstone until the two sides become even again.
[9] Clean And Tidy
Now you should clean the area and tidy away anything that remains. Be sure to keep everything pristine for future use.
[10] Admire Next Use
Upon the next use of your Japanese knife, take the time to admire it and your hard work to sharpen and clean it!
Final Thoughts
Japanese knives require plenty of attention and care, starting with knowing how to sharpen it correctly. Hopefully, we’ve given you everything you need to know!
Hi, I’m Aura Ruggeri and I want to make sure that no one makes the same mistake that I did.
So, if you’re planning a trip to Japan anytime soon, do exactly that - plan! Read up on all of the amazing things to do here to make the most of your time. I can bet that you’ll still return home feeling like you could’ve explored much more.


 - Your Complete Guide")

 - Your Complete Guide")


")
