
Kimonos are traditionally worn by men and women and are a part of Japan’s cultural heritage. These traditional garments are worn for many purposes and are often worn for formal events.
However, many people may wear a kimono for their work. There are many different ways to tie an obi.

In fact, there are many different types of obi, from kimonos to martial arts uniforms, and there are a wide variety of different ways to tie these sashes. But how do you tie one?
When you tie an obi, you need to consider what type of kimono you want to tie up. Obis are used to tie up kimonos and yukatas, but there are different methods used.
To help you, we’ll teach you how to tie a casual obi for when you wear a kimono or a yukata.
How To Tie An Obi: A Step-By-Step Guide
There are different methods of tying an obi, but if you want to wear a kimono or yukata casually and not for a formal occasion, this is an excellent method to use.
Here is a step-by-step guide on how you should tie an obi.
Step 1
You should pick up your obi and measure it by 45 centimeters in length from one end of it.
If you don’t have anything to measure with on hand, you can estimate how long 45 centimeters is by using the distance from your shoulder to your hand.
Step 2
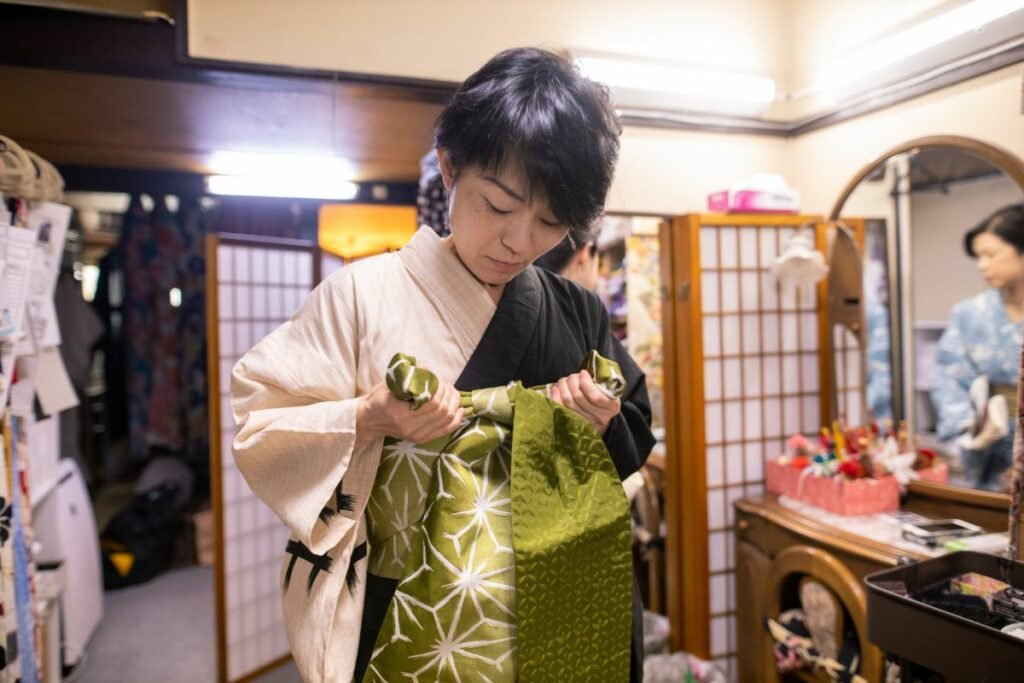
Once you’ve measured 45 centimeters of your obi, you should use this length to drape over your right shoulder. The pattern on the obi that you’re using should be faced down.
You might also fold this length in half horizontally with your pattern on the outside. However, this isn’t essential to do right now. Instead, you can do this later if you prefer.
Step 3
Now that you have your obi with your preferred design facing down, you should make a 45-degree fold in it. Your obi should be horizontal below the bustline and cover the sash of your kimono.
If you’re not wearing your kimono and you’re only practicing, it should only go across your midsection.
Step 4
Once it’s around your midsection, you should wrap it around yourself. There is a technique to this, so you should turn yourself clockwise while standing in place.
Do this for one full rotation, and adjust your obi, so it’s tightly wrapped around you. Then, do this again in the same way, and tighten it once more.
Step 5
When your obi is tightly wrapped around you, hold both sides of the loose fabric of your obi. You should tie it over using a crossover tie. This should be done as if you’re tying your shoelaces.
Ensure the short end of your obi, which was draped over your shoulder, comes out the top of the tie. You can drape it over your shoulder once more to keep it out of the way.
Step 6
Measure what’s left of the long end of the remaining obi so that there are between 15 and 20 centimeters of width from where it’s tied.
Then, fold the obi back, so it’s toward the tie. You’ll be using what’s left to make the bow of your obi.
Step 7
In order to make the bow, you should take the remaining length of the obi and gather it, so it’s in a circle. The end of the obi should end up on the inside.
The width of the flattened circle should be roughly the width of your torso, so you should make some arrangements if it’s not.
To best judge this, you should have enough length left to spare to be able to double back on itself around two or three times.
Step 8
Now that you’ve prepared your circle of cloth, you should pinch up to three folds into the center of it. You may only need to pinch one or two folds depending on the stiffness and thickness of your obi.
You should hold the folds in place with one hand. If you didn’t fold the short end of your obi in half horizontally in Step 2, then you should do this now.
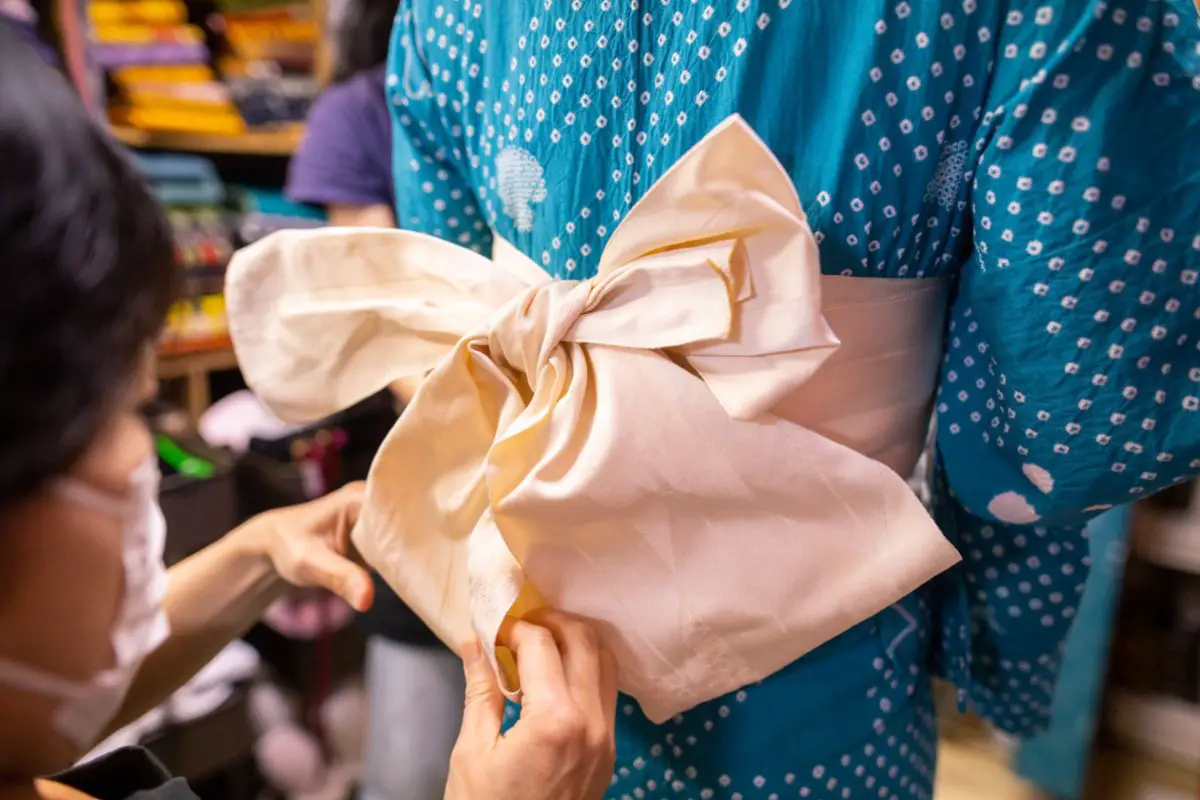
You should then wrap this part around the folds you created and hold it in place, so you make a bow shape. How many times you wrap it depends on how long you have left.
Step 9
If you have any remaining length, tuck it into the part of your obi which wraps around your waist.
Your bow should be at the top, so you should rotate it, so it faces upwards. You can adjust the wings of your bow so that it has an excellent shape.
Step 10
Finally, you should rotate it so that the bow is on your back. You should grab where your bow is and put your other hand on the middle of your back.
All you need to do is gently rotate it clockwise until it reaches its destination. Don’t try to go anticlockwise; you might find that your kimono will loosen, and you’ll have to start everything over.
As you can see, putting an obi on requires patience but isn’t too difficult to do.
However, it can be more challenging depending on the type of obi. This is one of the easiest methods of tying an obi over your kimono, while others require more tools.
If you want to learn how to wear a Nagoya obi, you may need more accessories to ensure it maintains the right shape.
However, using this simple method, you will be able to successfully wear a yukata during a summer festival.
Final Thoughts
Wearing a kimono and tying an obi can feel like a daunting task. However, once you know the technique, the process will become easier.
There are many different ways to tie an obi over your kimono or yukata, but if you want to try one on, this method is more manageable.

So, if you’re planning a trip to Japan anytime soon, do exactly that - plan! Read up on all of the amazing things to do here to make the most of your time. I can bet that you’ll still return home feeling like you could’ve explored much more.


