

A kimono is a long and loose robe traditional to Japanese culture. It is tied with a sash, and usually worn for formal occasions.
For example, kimono are worn for Seijin-Shiki, a coming-of-age ceremony that happens on the second Monday of January.

This ceremony welcomes those who have just turned 20 into the world of adulthood. Kimono are also worn for events such as graduations, weddings, and Shichi-Go-San.
But how exactly are these important items of clothing made? In this article, we will tell you exactly how to sew a kimono.
So, if you’re interested, read on for more!
How To Sew A Kimono: A Step-By-Step Guide
Here are all of the steps necessary to sew the perfect kimono!
Choose The Right Fabric
Any fabric can be used to make a kimono. However, it is best to use lightweight fabrics so you get that easy and open design.
So, we recommend using fabrics like lightweight cotton, silk, a knit blend, or chiffon. Whether you choose a fabric with print or a solid color comes down to personal preference.
The measurements for the fabric need to be exact: 40” by 55”. These measurements ensure that the kimono will fall just below the hips. So, if you want your kimono to be longer, then you should make sure it measures 40” by 60”.
40” measurements will ensure that the sleeves are ¾ length, so if you want sleeves that are shorter or longer, adjust the fabric as necessary.
Fold The Fabric
Fold the kimono fabric in half, with the 40” fabric edges lining up evenly. The back side of the fabric needs to be facing out.
If using silk or chiffon, then you may need to secure the edges together with a pin.
Measure And Mark The Fabric
Take the top fold of the fabric and measure along the outer edge. Find the spot on the fabric that is 10” away from the top fold and mark it using chalk. Repeat on the other side of the fabric.
Once you have done this, you need to measure 6” away from the mark you have just made and mark this spot once you have found it.
Please note that adjustments will need to be made if you have chosen to make your fabric shorter or longer.
Connect The Dots
Take a ruler and draw a line from one dot to the other. This is where the sleeve’s underside will be.
Now, draw a line with a ruler and chalk from the 6” mark to the bottom of the fabric, at the edge.
Once you have done this, you should see an upside-down “L” on the fabric. Repeat the entire process of measuring and marking the fabric on the other side, so you have two upside-down “L” shapes. These should be facing away from one another.
Cut Along The Fabric
Now, you need to cut the “L” shapes on the fabric. Make sure the lines you are cutting are even and straight. Again, if you are using silk or chiffon, it may be best to pin the fabric together so it does not move.
Once you have done this, your fabric will have the classic kimono look!
Mark The Center Of The Fabric
Once you have completed the task above, put the fabric you have just cut to one side. Now, draw a straight line from the center of the folded fabric edge down to the bottom edge. This is the opening of the kimono.
Be sure to use a ruler to draw the line.
Cut The Fabric
Now that the fabric has been marked, you can cut along the markings to make the kimono’s opening. It is important to only cut one layer of fabric, the fabric you have marked – not both!
Create A Neckline
No cutting is required for the neckline. However, you can cut two lines in a curved shape, around 2” from the top fold toward to center line. This will create a soft neckline opening.
Sew The Sides And Sleeves Of The Fabric
Now that the fabric is folded and the incorrect sides are facing outwards, you need to pin the “L” shapes, making sure they are evenly lined up.
Now take your sewing kit and sew ½” from the edges of the fabric to secure the sides and sleeves of the kimono. Be sure to remove all of the pins as you are sewing!
Pin The Edges Of The Fabric
Now, you need to pin the edges of the fabric to make a hem. You can skip this step if you have used a knit blend because knit blends do not tend to fray. However, other fabrics will need a hem, and this is how you do it!
Pin all of the kimono’s raw edges.
Pin the fabric so ½” can be folded to hide the raw edges.
Place pins along all of the raw edges of the fabric, including the sleeves, the bottom, the opening, and the neckline.
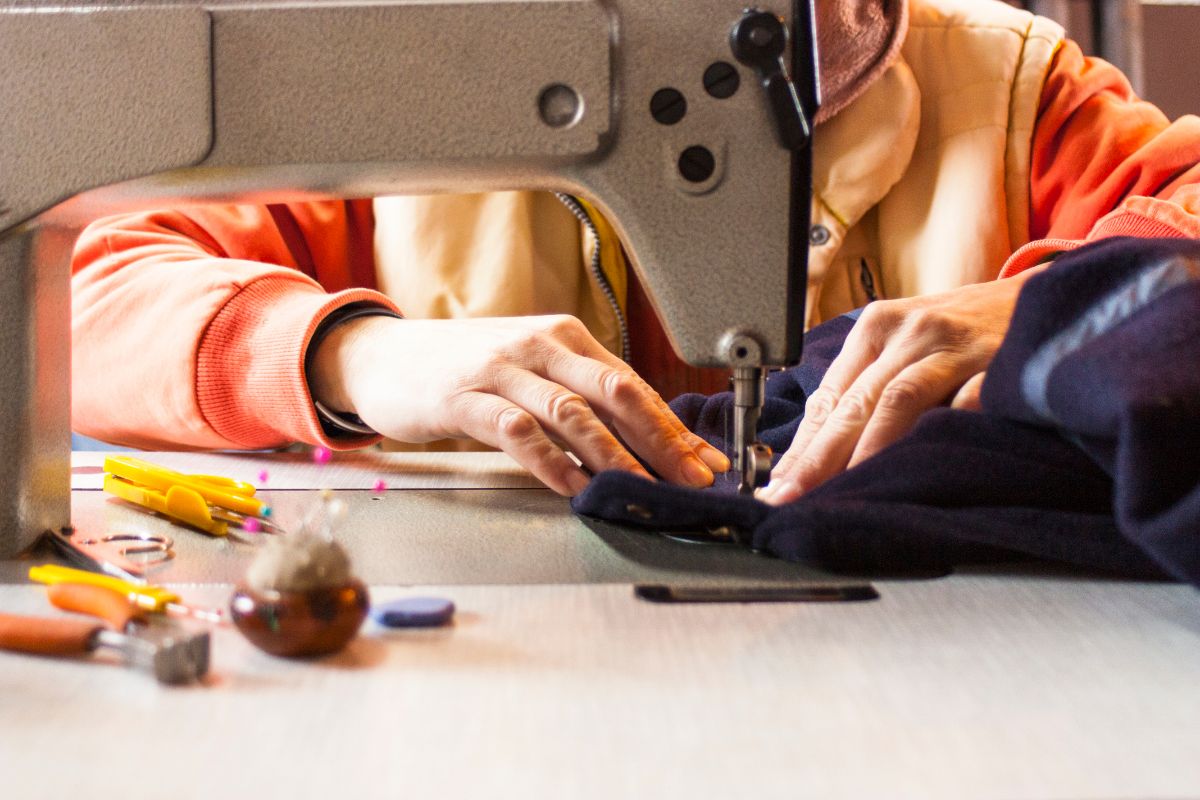
Sew The Edges
Now that you have pinned the edges, you need to sew them to secure the hem. It is best to use a straight stitch for this. Sew the pinned areas just over ¼” from the hem’s fold.
When you want to hem the opening and bottom of the kimono, it is best to start in the bottom corner and sew all of the fabric, up and around the opening of the kimono.
Then, it is best to sew the sleeve edges to make sure these hems are secured. Don’t forget to remove the pins as you go!
Trim The Fabric
Now, it is time to trim the fabric. Look for excess threads and trim them with scissors. Remove the excess threads and turn the kimono the right way around.
Congratulations – you have just made a kimono!
Final Thoughts
Kimono are traditional Japanese attire worn for formal occasions. This step-by-step guide shows you exactly how to sew one, and more!

So, if you’re planning a trip to Japan anytime soon, do exactly that - plan! Read up on all of the amazing things to do here to make the most of your time. I can bet that you’ll still return home feeling like you could’ve explored much more.


 - Your Complete Guide")

